Affiliate Disclaimer
Some links in this article are affiliate links. We may earn a small commission if you make a purchase through these links, at no extra cost to you. We only recommend products we find useful to our readersSciatica is considered as one of the painful diseases. The experts are trying since a long time to search for a strong cure on the disease which can get instant relief. There are a large number of people suffering from the disease across the globe. Although the disease is considered severe, fortunately, it has also been found that doing yoga for sciatica relief provides a quality relief. Sciatica is considered as one of the painful diseases.
The experts are trying since a long time to search for a strong cure on the disease which can get instant relief. There are a large number of people suffering from the disease across the globe. Although the disease is considered severe, fortunately, it has also been found that doing yoga for sciatica relief provides a quality relief.
Here we have tried to provide all the important information about the problem of sciatica as well as its causes and symptoms along with some of the best yoga pose to treat the pain caused by the disease.
Symptoms of Sciatica
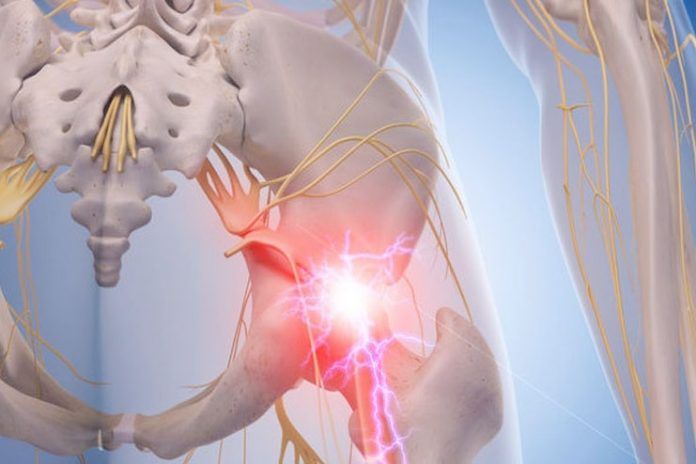
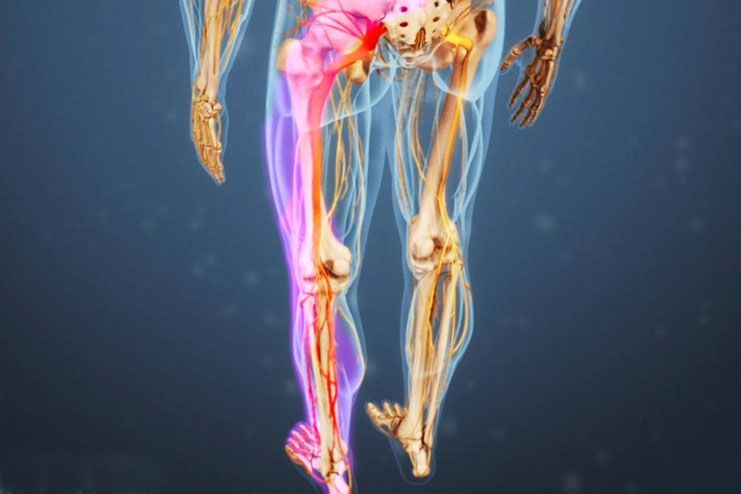
Sciatic nerves are considered as the longest nerve in the human body. Sciatica causes pain as well as tenderness anywhere in the sciatic area. There are two sciatic nerves in our body which works independently for both the legs. The Sciatic nerve may be affected while doing everyday work such as bending, sitting, running as various other passive and active activities.
Some of the major symptoms of sciatica include,
- Pain in lower back, back of the thigh or calf, buttocks or anywhere around the sciatic area.
- Numbness, fatigue or loss of feeling in feet or legs.
- The feeling of burning, pinching, tingling which is also known as paresthesia.
- Buckling of knees or weakness while standing up.
- Inability to flex your ankle to walk on your heels, or the condition of foot drop.
- Lack of reflexes in the knee as well as Achilles tendon.
Causes of Sciatica
The major cause of sciatica is considered as the problem in herniated disk in the lumbar spine, which can be press upon the sciatic nerve. It is important to consult with your doctor immediately if you are experiencing pain in your mid-lower back as well as the symptoms which are mentioned above.
The problem of sciatica can also appear due to the affecting of muscle situated deep in your piriformis. The sciatic nerve gets highly pressed due to the activities of the piriformis and causes severe pain.
Best Yoga Poses Of Sciatica Pain
 Yoga, an ancient alternative medicine, is also highly effective in treating the condition of sciatica pain. Performing yoga poses helps in aligning as well as strengthening your lower back. Yoga is also helpful in reducing the pressure on the sciatic nerve which results in the reduction of pain in the area.
We have listed some of the helpful yoga poses which can help you in reducing the pain caused by sciatica.
1. Supta Padangusthasana or Reclining Big Toe Pose
- Lie on the floor on your back.
- Get an elastic strap and place it around the ball or upper part of your right foot.
- Now straighten the right food to the ceiling along with the elastic strap.
- Keep your foot flexed, and your buttocks should press against the floor.
- Hold this position for 2-3 minutes.
- Bring your led down by bending the knee towards your chest and then placing the leg on the floor.
- Repeat the same technique with the left foot.
2. Dandasana or Staff Pose
- Sit on the floor by stretching your legs and your palms placed on the floor by the side of your hip.
- Provide your legs a good stretch by flexing your feet back.
- Straighten your spine and stretch it.
- You can also put a pillow under your hips initially.
3. Eka Pada Rajakapotasana or King pigeon pose
This pose provides strong stretching to the piriformis.
- Get yourself into downward facing dog pose
- Bring your left knee close to your left palm and place the left foot in the line of right feet. Make sure that your shin is in 45°.
- Stretch your right leg behind your and bring your body forward. The upper part of your right foot should touch the mat.
- Be in the position for few minutes.
- Repeat the same position for the right side as well.○ You can take the help of a table while doing this asana if you are facing too many challenges while doing this pose.
4. Standing Twist
- Stand straight by placing the chair against the wall.
- Your right hip should touch the floor by keeping the right foot on the chair by bending your right knee.
- Place your palms on the wall.
- Lift your left heel and try to balance yourself.
- By keeping your left leg straight twist the body towards the wall.
- Hold this position.
- Bring heel back on the floor by exhaling.
- Do the same for left side as well.
5. Gomukhasana or Cow’s Face Pose
- Sit on the floor and bring yourself into the staff pose.
- By bending your right knee bring your right leg across the left.
- Your right foot should be close to your left hip.
- Bring your left foot slightly out of the line of your belly button to make it diagonal.
- Your right hand should be on the floor and left a hand on the right foot.
- Extend your spine and hold the position for few minutes.
- Use the same procedure for another side as well.
6. Spinal Twist
- Sit on the floor by bending your knees.
- Bring your right foot around and keep it close to the left hip.
- Place your left foot on the floor either inside or outside of the right knee.
- Ensure that your weight is balanced on your hips.
- With the help of your hand hold the left knee.○ Hold this position for few minutes.
- Repeat with right leg also.
7. Simple Seated Twist
- Get yourself into spinal twist pose.
- Turn your torso towards the upward knee.
- By placing your palm on the floor turn your torso with the help of right your right hand placed on the left knee.
- Make sure that you are not twisting yourself too much as it may worsen the piriformis syndrome and complicate the things even more. ○ Repeat the twist for another side as well.
8. Standing Hamstring Stretch
- Bring your right foot on elbow level by keeping your leg on a table.
- Keep your leg straight and your hands on your waist.
- Ensure that the hip of the right leg is not lifted.
- Try to stretch the leg a bit and hold the position for few minutes.
- Repeat the same for another side too.
- You can use a belt under your thigh to get enough support.
More Recommended Articles:
- 10 Simple Yoga Stretch Exercises To Kick Start Your Day!
- All You Need to Know About Restorative Yoga Poses
In this Article


